Sunday, February 21, 2016

Replace that Broken Floor Tile

So just a small Disaster then....  Dropped a stubby bottle, and it lands unfavourably on the floor, and takes a nice chunk out one of the tiles. Well then... let's have a crack at replacing that shall we?


Step 1.

Get yourself a grout remover - I cannot stress that enough.  This little tool will be the difference between replacing one tile or the tiles next to the broken one as well.

 
Grout Remover

This is used to remove the grout around the broken or chipped tile and will prevent damaging the adjacent tiles.  You will find the grout is ground away quite easily.


This shows all the grout around the broken tile removed.


Step 2.

The hard part...

Using plastic sheet to cover as you do this, you need to use a heavy duty chisel to break the tile and start getting under it.  Depending on how well the tile was cemented down will govern how easily this part goes.  Make sure you wear eye protection!  I also put a plastic sheet around to stop the flying fragments, and cleaned as I went.


You can see once you get a start it will become easier.  Be careful near the edges.  The broken tile can then be removed.
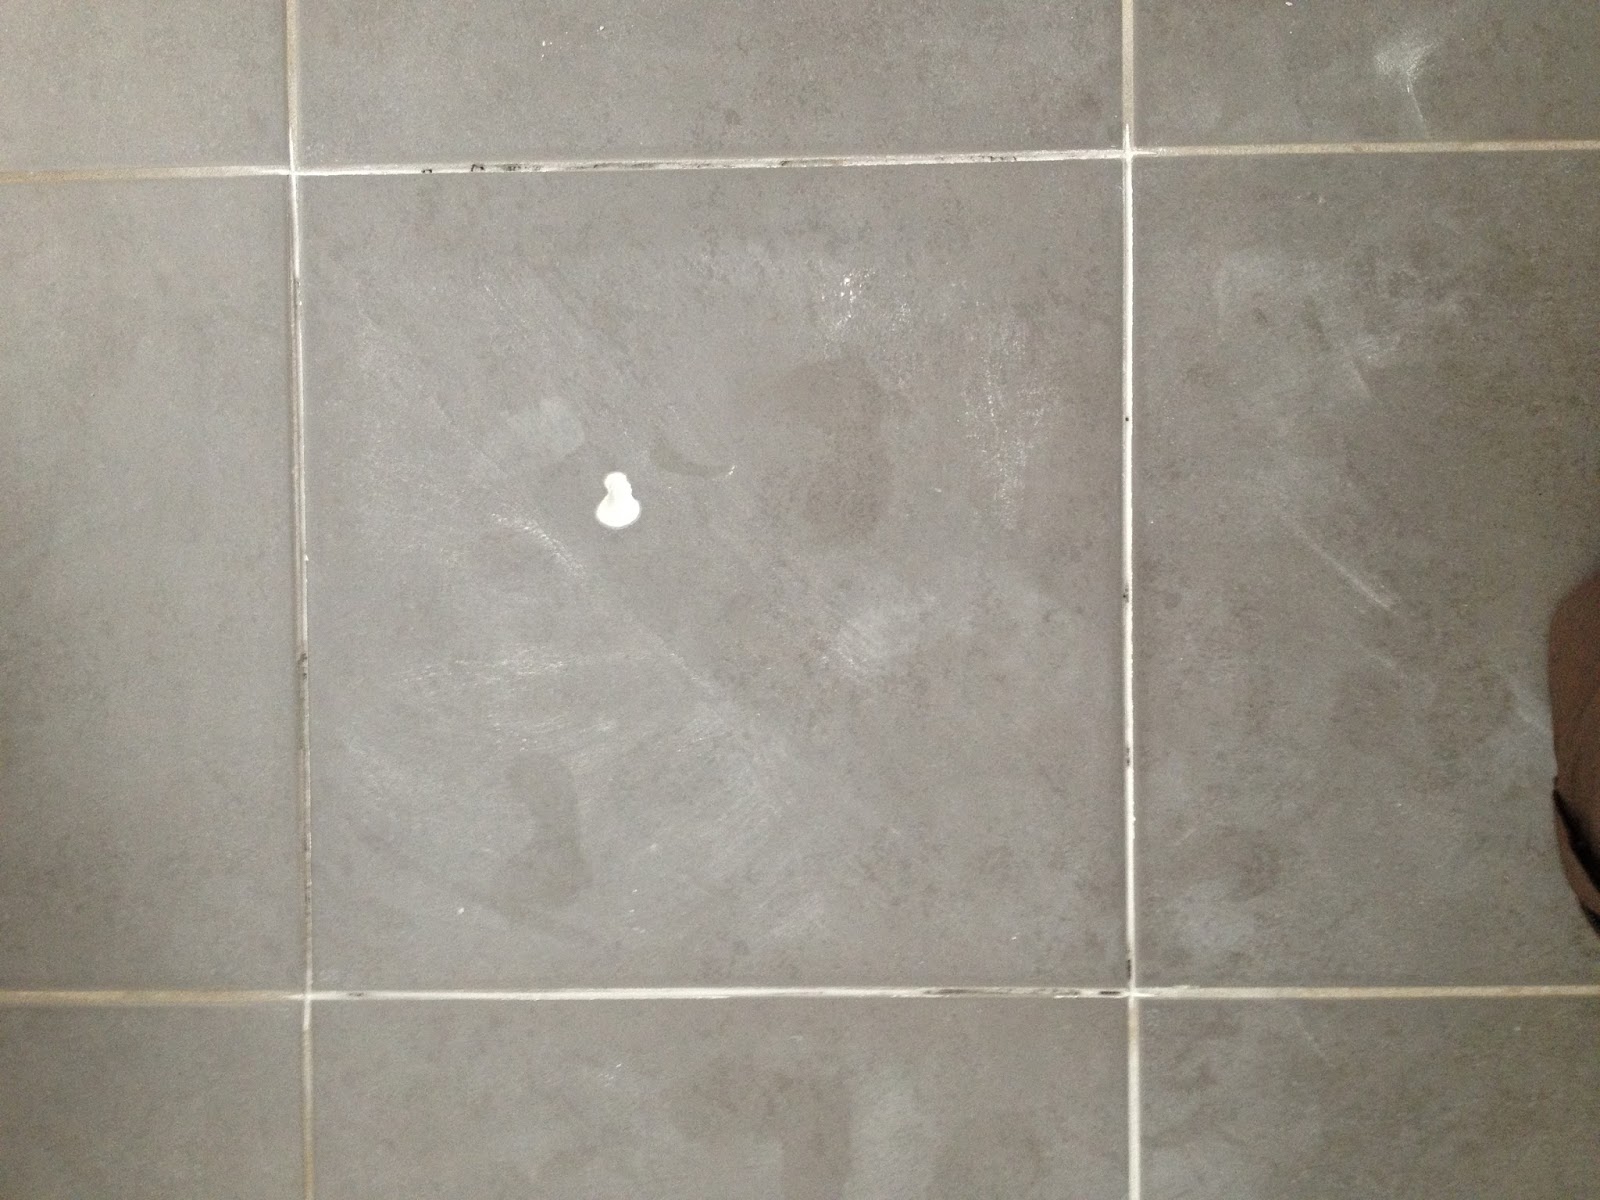
Step 3.

Then scrape all the old cement away, and any left over grout, taking care not to damage the tiles around it.


You will then have the broken tile removed, and ready for the replacement tile.
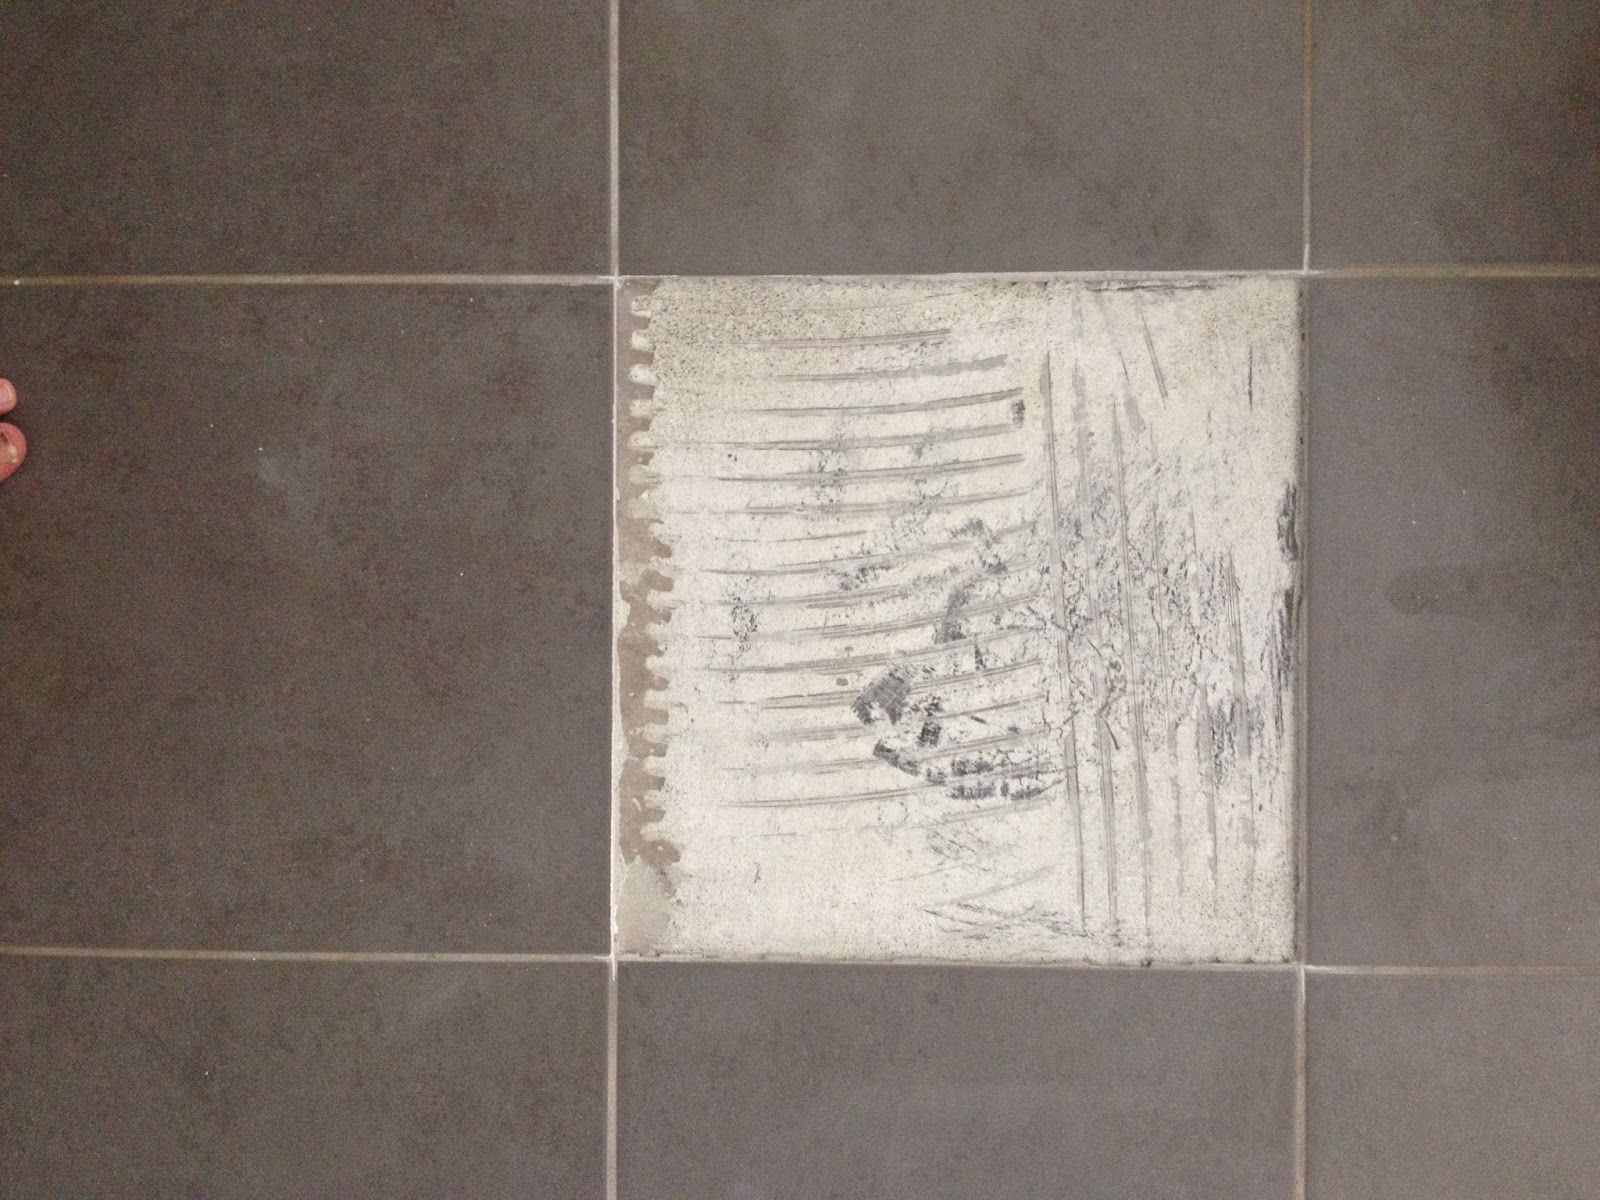


Step 4.

Mix up some tile adhesive as per instructions.  You can get that from any hardware for about $7 a bag.  Ideally use a 10mm adhesive spreader to get your adhesive down.


Step 5.

And lay your tile, watching the levels are the same as the surrounding tiles.
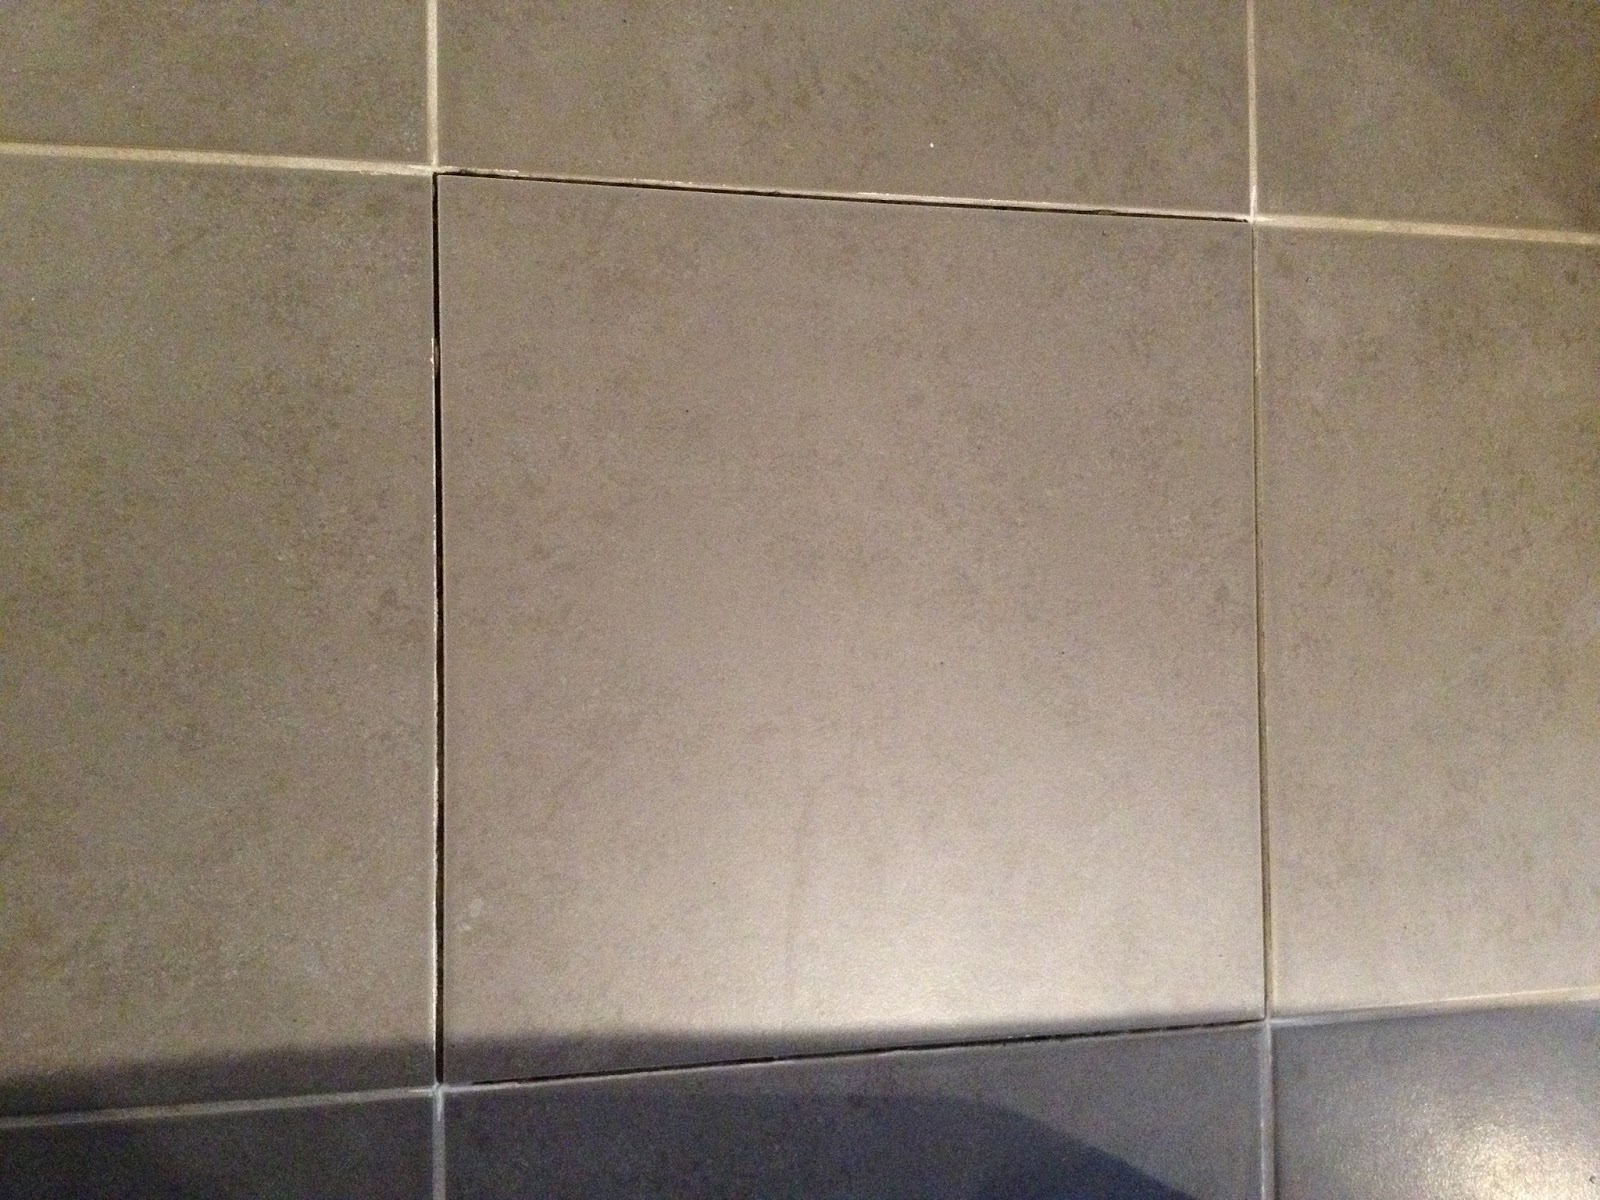

Step 6.

All that is left to do is grout.  This is simply mixed as per instructions, so it is like a paste and squeegee in to the gap.  Using a damp sponge, wipe across the grout to take up the excess and I find working at about 45 degrees to the grout line will do the job nicely.


And that's it, well apart from a good mop to get the last of the grout residue.

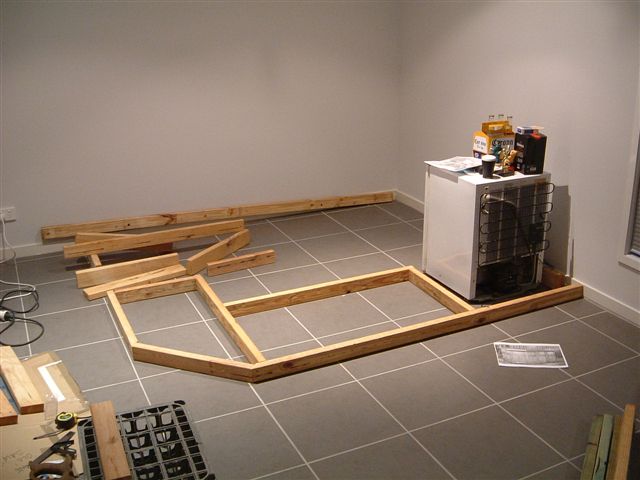
Hopefully the is the last one that I need to do in my bar!


Sunday, October 14, 2007

The Bar nears completion...

Well the bar is broken in, and the rear shelf/cabinet is under construction.


Some trimming put on the rear shelf and then stained.


An early birthday present/Christmas present get the stools in play.


Cheers!!

A bit more commentary can be seen at www.brandozines.com/bar for the construction, if you didn't already come from that site to here! :)


Thursday, February 15, 2007

The Bar has begun....

Finally I have begun construction on the Brand Bar. The work schedule is high if I am to meet the 30/3/07 deadline. Apart from a couple of print outs and pictures, all the plans are in my head. Foolish? maybe. But so far so good, and precision is not the goal here, but obtaining some character that will hopefully grow with time.

Layout in position, Base and first uprights & In position with Uprights attached


Fitting of lower bench, Lower Bench fixed & 2nd half of lower Bench fixed


Some good help never goes astray...
My beautiful assistant, and Horizontal supports for top bar in place


The skeleton of the bar...


Start of side panels & shelf & Opposite side showing side panels & shelf


Panels on, Workers at it & Trimming on


Beginnings of the Bar Top & Trimming attached


So it is 20/3/07, and the bar is nearing the end of stage 1.
I have been busy sanding, and am anxiously awaiting the final step of staining the little beauty.

Staining has begun!


And with the deadline here....the bar is in operation!
(Still work to do though)


18/6/07 - Some recent work, including the neon sign and shelving.....


Continued here....